Upgrading to Amiga Kickstart 3.1
The Amiga 1200 originally shipped with Kickstart 3.0 and when Amiga Technologies began shipping the Amiga 1200 in 1995, the Kickstart supplied had been updated to Kickstart 3.1. To upgrade the original machines is simply a case of extracting the old and fitting the new ROM chips.
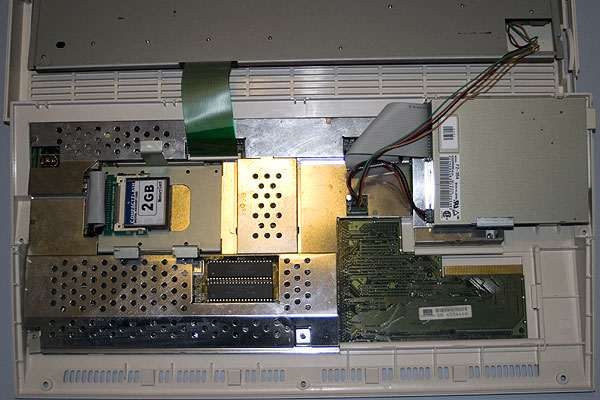
So firstly, we need to take the lid off of the Amiga which is straightforward enough by unscrewing the 5 case screws. The case also "clips" into place along the back edge so it must be levered off gently to open up the case completely. At this stage, you can if you need to unplug the header connector that connects the power and drive LED lights to the motherboard for easier access.
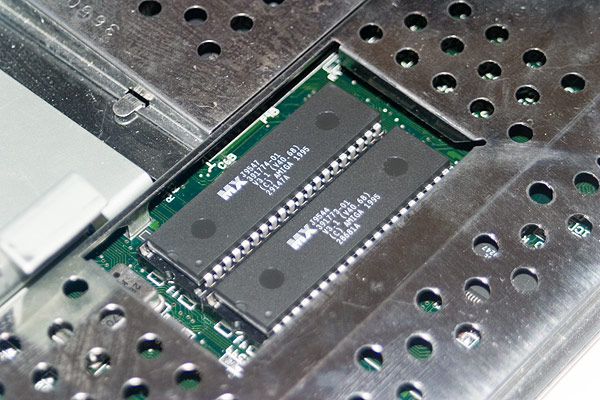
Here we have a detailed shot of the Kickstart 3.0 ROMs. If you look closely, the left most pins are empty on both sockets.
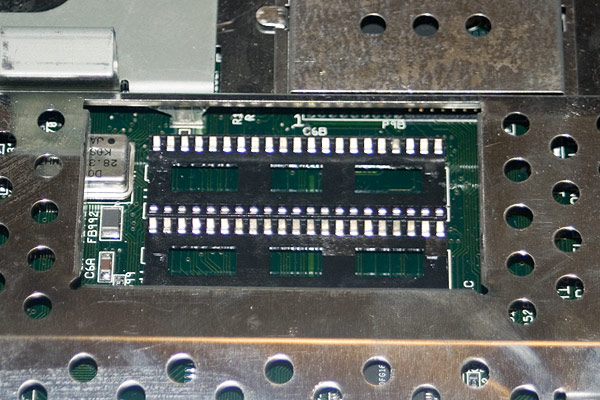
With the correct chip extraction tool, the ROMs can be eased out of their sockets. By now they've been in there for nearly 19 years so they're quite securely in place and require the gentle application of force to gently lever the chips out of their sockets.
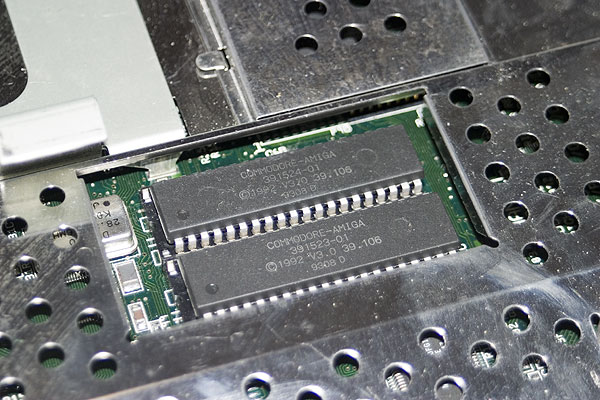
Finally, with a little more pressure, the new Kickstart 3.1 ROMs are fitted. Sometimes with new chips the legs are splayed out too wide to fit into the socket, using a pin alignment tool or gentle manipulation on a flat surface will bend the pins in sufficiently to fit before pressing the chips home.