Servicing the Acorn A3000 keyboard
Over the years, a computer keyboard gathers and traps dirt and can if left unchecked become exceptionally dirty eventually leading to failure, not to mention being a health hazard. A dirty keyboard also brings down the overall look of the machine and can be the difference between a machine that looks worn out and one that looks "pristine".
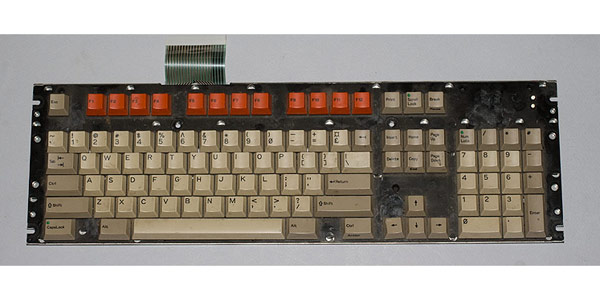
Removing the A3000 keyboard
The A3000 keyboard is a self contained component that connects to the motherboard via two ribbon cables that feed into two sockets. It is supported on several posts that are part of the lower half of the A3000 case and no screws are used to hold it in place. To remove the keyboard, the ribbons must be gently removed from the sockets and then the whole keyboard can be lifted out of the A3000 in one piece.
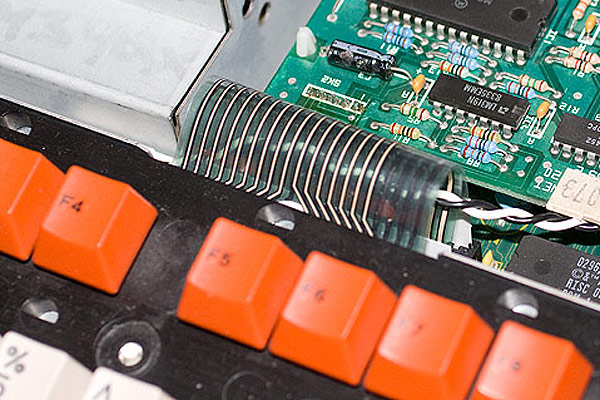
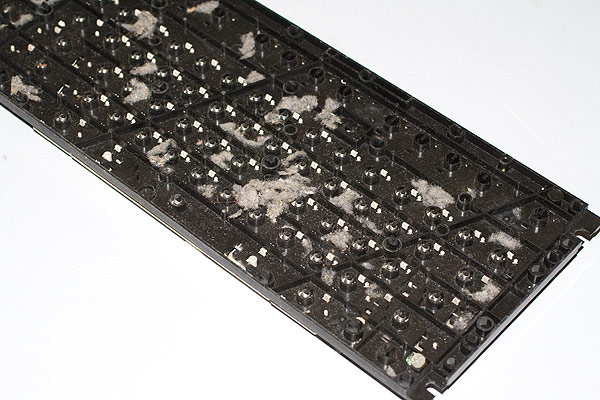
As you can see from the photo's below, the keyboard is quite dirty but what is visible is only the tip of the iceberg...
Stripping down the keyboard
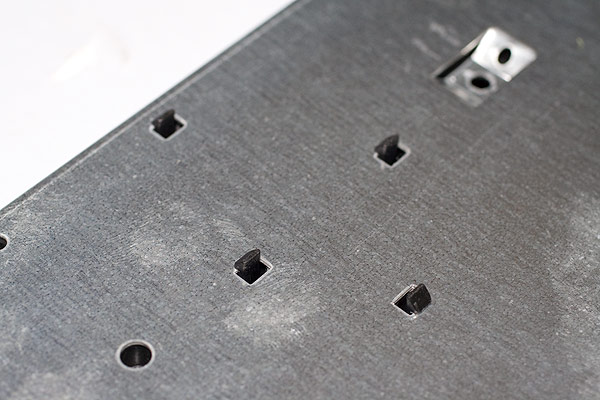
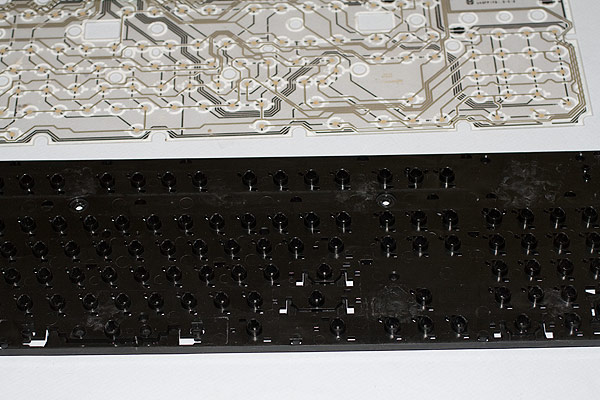
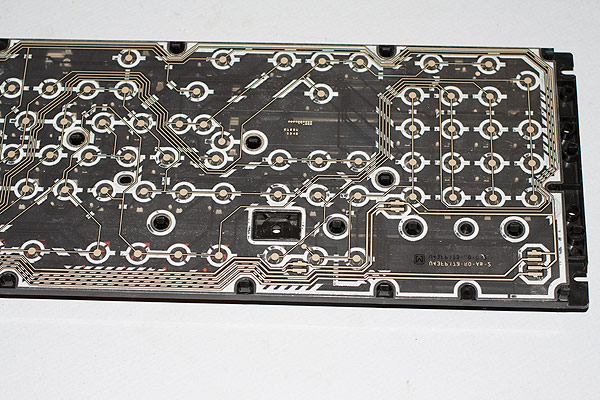
The keyboard is constructed with a steel backing, two membrane layers, the plastic chassis and all of the key tops and springs that provide the keyboard action. All these layers are held together by clips on the back of the keyboard.
After unclipping and separating the back of the keyboard from the plastic chassis, it should be clear just how much dirt is in the keyboard.
At this stage it is important NOT to use a vacuum cleaner to remove the dust and fluff. In using a vacuum cleaner, you could accidentally vacuum an LED or loose keyboard spring up at which point, you would need to dig through your vacuum cleaners dust bag to find the parts you need. Instead, use a clean and dry paint brush and simply "dust" the back of the keyboard making sure you don't lose any components.
Once dusted, you'll see that each key top is held into place in the chassis by two small clips. By applying pressure to these clips, each key top and spring can be removed. At the same time, remove the LED's from the chassis taking note of the colours and locations of the LED's. There should be one yellow LED for the disc activity light, the rest should be green.
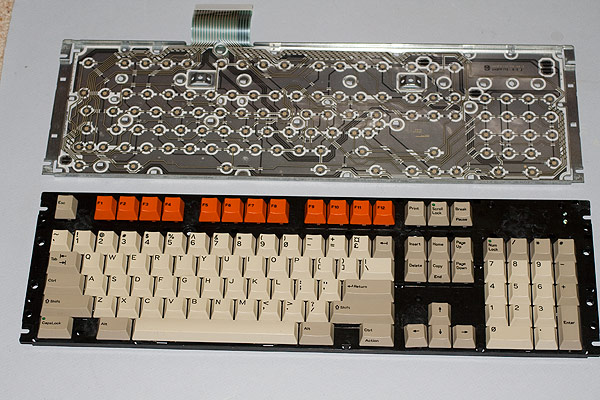
After all the keys have been removed, you can now clean the chassis using hot soap and water. The keyboard membrane can be simply wiped with a damp cloth and dried immediately too. Once cleaned, they should look like the photo's below.
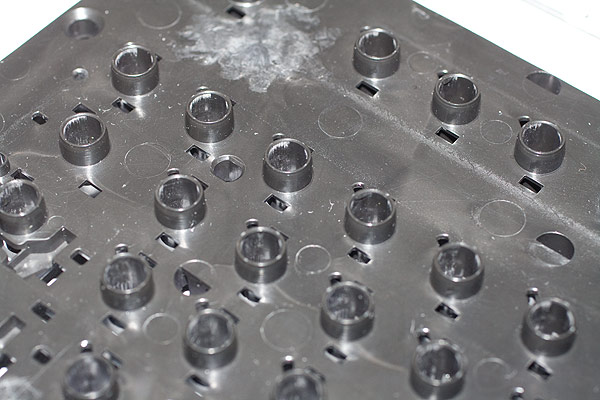
In the photo of the cleaned chassis above, you can see what appear to be water marks. In fact they appear at different places on every A3000 keyboard and appear to be marks left by the manufacturing process.
While the keys are removed, they should be cleaned individually to remove any dirt and grime. I use scent free baby wipe to clean each key individually before re-inserting them into the keyboard chassis.
Reassembly of the keyboard
After cleaning, the reassembly of the keyboard is straightforward requiring the membrane to be positioned on the back of the chassis before the steel backing plate is then re-clipped into place.
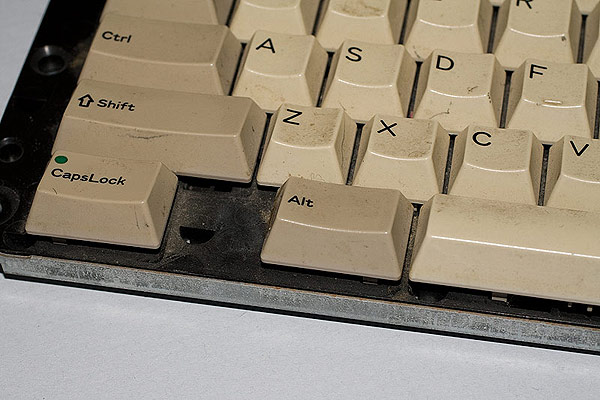
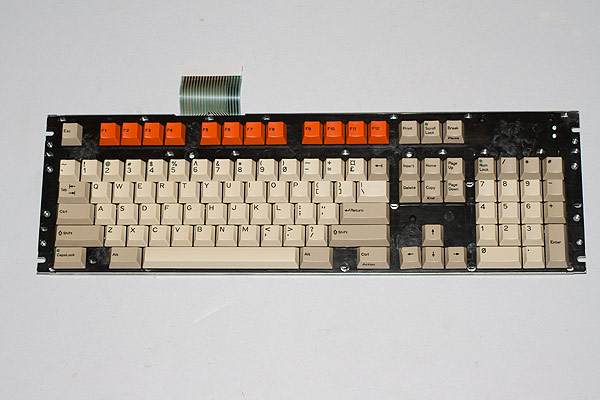
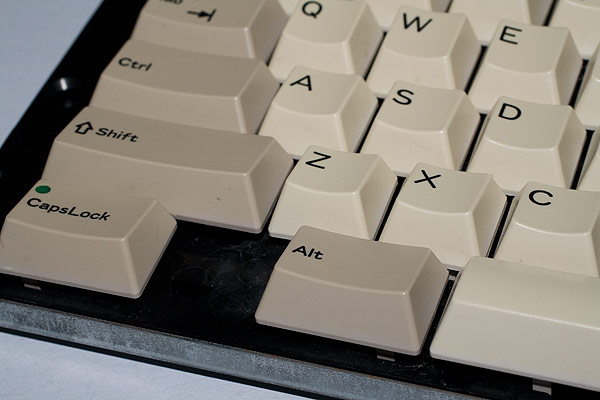
Complete and reassembled, the keyboard looks as good as new as the two photo's below show.
Damage
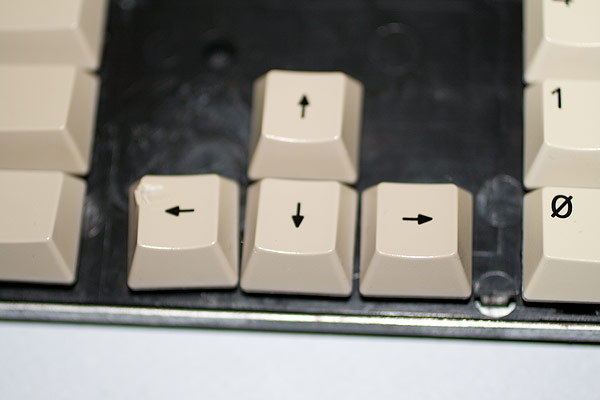
The eagle eyed amongst you may have spotted that this keyboard is in fact damaged. The left arrow key has had something dropped on it in the past which has caused a deformation of the key top causing it to present at a slight angle compared to a perfect key. The only way to address damage like this is to replace the key top from a broken donor keyboard.
Translate this site
Acorn BBC A3000
A3000 maintenance
- A3000 Battery maintenance
- A3000 case repair and restoration
- A3000 keyboard servicing
- A3000 floppy drive servicing
- Cleaning the mains cable
Other maintenance resources
RISC OS links
RISC OS is the operating system that runs on all Archimedes and RISC PC's from Arthur in the beginning, to RISC OS 2 and onwards to RISC OS 4, 5 and 6 today.
IconBar posts
News
- WROCC November talk is on thursday night
- Accessing Microsoft Mail from RISC OS
- Archive 26:1 reviewed
- RISCOSbits announcements for 2022 London Show
- October 2022 News Summary
Forums
- Accessing Microsoft Mail from RISC OS
- RISCOSbits announcements for 2022 London Show
- Rougol outing on Saturday
- Rougol October meeting - Pinebook Pro
- Compute Module 4
provided courtesy of The IconBar